


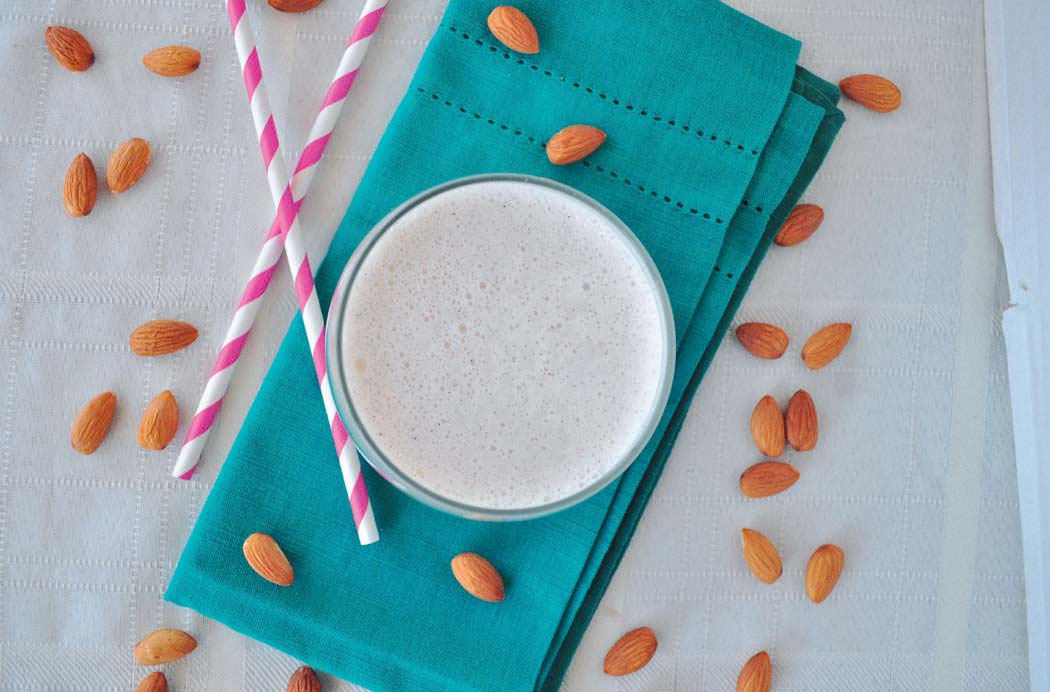
Making nut milk is an easy process that’s pretty consistent among varieties. This basic formula is good for almonds, Brazil nuts, cashews, hazelnuts and pistachios. All the nuts will need to be soaked ahead of time, preferably overnight. … After blending, most nut milks need to be strained through a nut-milk bag or fine cheesecloth.
The best advice I can give is to be prepared ahead of time; have all of your supplies laid out where they need to be. This will keep things neat—trust me.
Makes 4 cups
1 cup raw, unsalted nuts, whole or chopped (almonds, Brazil nuts, cashews, hazelnuts and pistachios work best)
3½ to 4 cups water, plus water for soaking
Optional Sweeteners
1 teaspoon ground vanilla beans
½ teaspoon vanilla extract
1 Medjool date, pit removed
1 tablespoon maple syrup
1 tablespoon raw honey
Soak the nuts overnight with enough regular tap water to cover them, plus an extra inch or 2. It doesn’t have to be a particular temperature. I like to use a 32-ounce Mason jar for this. The nuts will expand slightly during the soaking process. In the morning, drain and rinse the nuts well.
Add the nuts to a high-powered blender with 3½ cups fresh water. Blend for 2 minutes. I use my Vitamix, starting out at a slow speed before working my way up to a higher one.
Set a fine-mesh strainer on top of a large bowl. Place a high-quality cheesecloth on top of the strainer or use a nut-milk bag.
Pour the contents of the blender into the cheesecloth or nut-milk bag. At this point, I like to walk away and let gravity do most of the work. It should take about 5 minutes or so for most of the liquid to end up in the bowl.
Gather the cheesecloth or nut-milk bag in your hands and gently squeeze it. You’ll start to see a lot of liquid come out. Keep squeezing until you feel that all the liquid is gone. It can be quite the hand workout!
Add an optional sweetener, if desired, and then return the liquid to the blender and blend again for another 2 minutes.
Meanwhile, dump the excess pulp onto a parchment-lined baking sheet. It will be wet and clumpy. I use my fingers to break it up and spread it out on the baking sheet so that it dries out easily. Please don’t throw it away—there are an incredible number of uses for pulp, from almond flour to crackers.
Use a funnel to pour the nut milk into a glass storage jar. You can store it in the refrigerator for 3 to 4 days or in the freezer for up to 2 months.
NOTES
If you decide to add a sweetener or two to this recipe, start with ground vanilla beans, which make things taste sweeter without raising the actual sugar content. Be sure to strain the milk before adding the sweetener. If you add the sweetener too early in the process, some of it will get caught in the cheesecloth, especially dates. Note that if you use vanilla extract, you might be able to slightly taste the alcohol, since this recipe isn’t cooked.
As you start playing around with the types of nuts you use, you’ll notice that not all of them need to be strained after they’re blended. Some, such as cashews and pistachios, create a very fine powder that goes straight through the cheesecloth. For those, I simply blend, pour, chill and serve.
Don’t be shocked when you take your milk out of the refrigerator and find that it’s separated. Just give it a good shake to mix it up again. Homemade nut milk doesn’t have added thickeners, emulsifiers or stabilizers to keep the mixture homogeneous.
If you don’t have a high-powered blender, you can use a regular blender. You’ll just need to make the milk in smaller batches— about ½ cup of nuts to 1¾ cups of water at a time.
Most nut milks will last 3 to 4 days in the refrigerator, which should be plenty of time if you use them regularly in coffee, cereal and recipes. The somewhat short life span is why I don’t make it in large batches. Storebought milks tend to last longer because they have added preservatives.
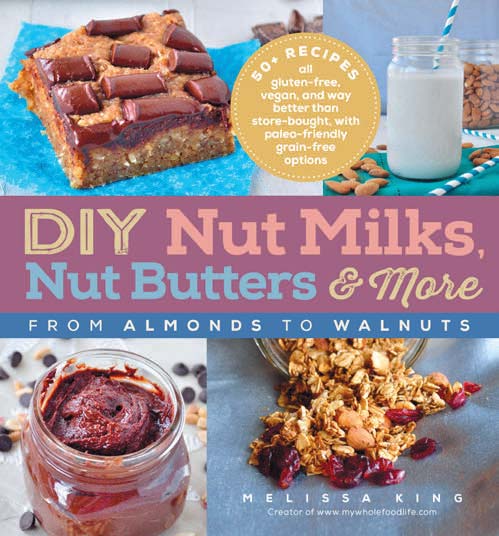
Melissa King is the author of "DIY Nut Milks, Nut Butters & More".